Import render-ready terrains into Blender in one click
Instant Terrain Importer · One-Click Gaea Terrains
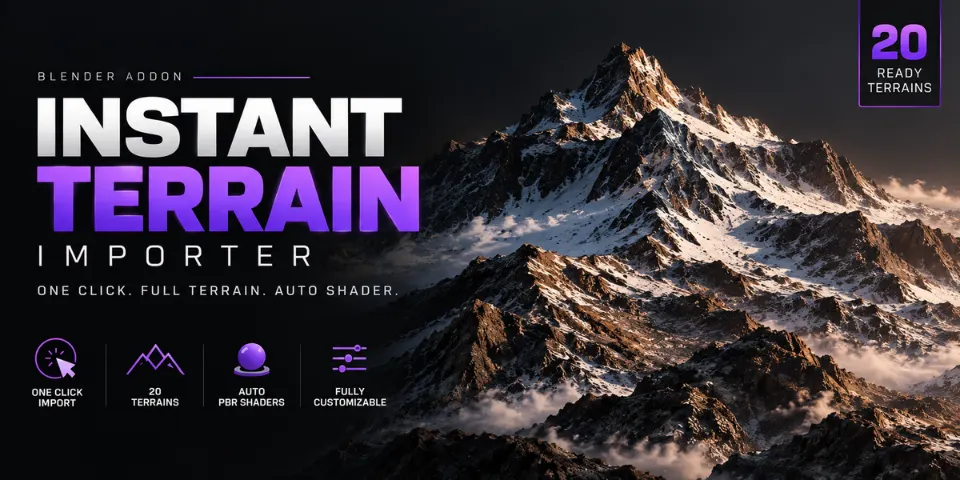
Pick one of 20 ready-made Gaea terrains in a sidebar panel, press Import and get a displaced, textured landscape with its shader already connected.
What is Instant Terrain Importer?
Making a heightmap terrain look right in Blender usually means a subdivided plane, a displacement setup, a set of texture maps and a shader to tie them together. Instant Terrain Importer does all of that when you press Import. Choose a preset in the N-panel sidebar and the terrain arrives with subdivision, displacement and a PBR shader in place, without a single node to connect.
The library holds 20 terrains in four types (snow, rock, desert and volcano), and each type has its own procedural shader; volcano terrains add glowing, emissive lava. Displacement runs through a Subdivision modifier, so it stays non-destructive, and you can swap in your own textures whenever you like. It works in Cycles and EEVEE.
What you can make with Instant Terrain Importer
Backdrops for any shot
Put a mountain range, canyon or ice shelf behind a character or product without building one from scratch.
Snow and alpine scenes
Glacial Peak, Frozen Tundra, Ice Shelf, Blizzard Carved and Avalanche Scar cover icy peaks and plains.
Deserts, canyons and badlands
Dune Sea, Eroded Mesa, Wadi Carved, Canyon Walls and Cracked Badlands for dry, rocky landscapes.
Volcanic and fantasy worlds
Caldera, Cinder Cone and Eruption Peak come with emissive lava that glows in the cracks.
Fast environment blockouts
Import, compare and replace terrains quickly while you work out the layout of a scene.
How it works
Pick a terrain
Open the Terrain Importer panel in the N-panel sidebar and choose a preset from the built-in library.
Import
One click adds the terrain with subdivision, displacement and its shader set up; file paths are detected automatically.
Adjust or override
Change Subdivision, Strength and Mid Level with live sliders, resize the grid, or apply your own textures with Texture Override.
Tips for better results
- Keep Subdivision low while you compose the shot and raise it before the final render.
- Lower Strength to calm a dramatic preset into gentle hills, or raise it for more extreme relief.
- The grid size is 100 m by default; adjust it to match the scale of your scene before adding other assets.
- Use Texture Override to give one landform a different look, for example sandy textures on a rock terrain.
- Blender
- 3.6–5.1
- Type
- Add-on
- Category
- Terrain
- Sold on
- Superhive
Instant Terrain Importer questions
Do I need to set up nodes or file paths?
No. Paths are detected automatically and the shader is applied for you during import, so there is nothing to wire up by hand.
Can I use my own textures?
Yes. Texture Override replaces the included textures with your own on any imported terrain.
Which textures are included?
4K PBR textures with Diffuse, Normal, Roughness and Displacement maps.
Is the displacement destructive?
No. It runs through a Subdivision modifier, so you can keep adjusting it after import.
Which Blender versions are supported?
Blender 3.6 to 5.1, in Cycles and EEVEE.
Instant Terrain Importer on Superhive
Bring Gaea terrains into Blender instantly with auto shaders and displacement setup. 20 ready terrains included.